For the last week of camp I decided to take aerial shots of the camp to provide a new perspective never seen before. It was all shot on a GoPro I mounted on the Tricopter. There is no gimbal, but post stabilization editing was done to improve the video. The kids loved seeing it fly and seemed to be very inspired by it! I also got featured in a blog post by one of the head staff at the camp which you can see here: http://snyderthomas.blogspot.
Saturday, August 22, 2015
Rambling Pines Camp from Above using the Tricopter
Here is a video I made of the camp I work at:
For the last week of camp I decided to take aerial shots of the camp to provide a new perspective never seen before. It was all shot on a GoPro I mounted on the Tricopter. There is no gimbal, but post stabilization editing was done to improve the video. The kids loved seeing it fly and seemed to be very inspired by it! I also got featured in a blog post by one of the head staff at the camp which you can see here: http://snyderthomas.blogspot.
For the last week of camp I decided to take aerial shots of the camp to provide a new perspective never seen before. It was all shot on a GoPro I mounted on the Tricopter. There is no gimbal, but post stabilization editing was done to improve the video. The kids loved seeing it fly and seemed to be very inspired by it! I also got featured in a blog post by one of the head staff at the camp which you can see here: http://snyderthomas.blogspot.
Wednesday, August 12, 2015


Wednesday, August 5, 2015
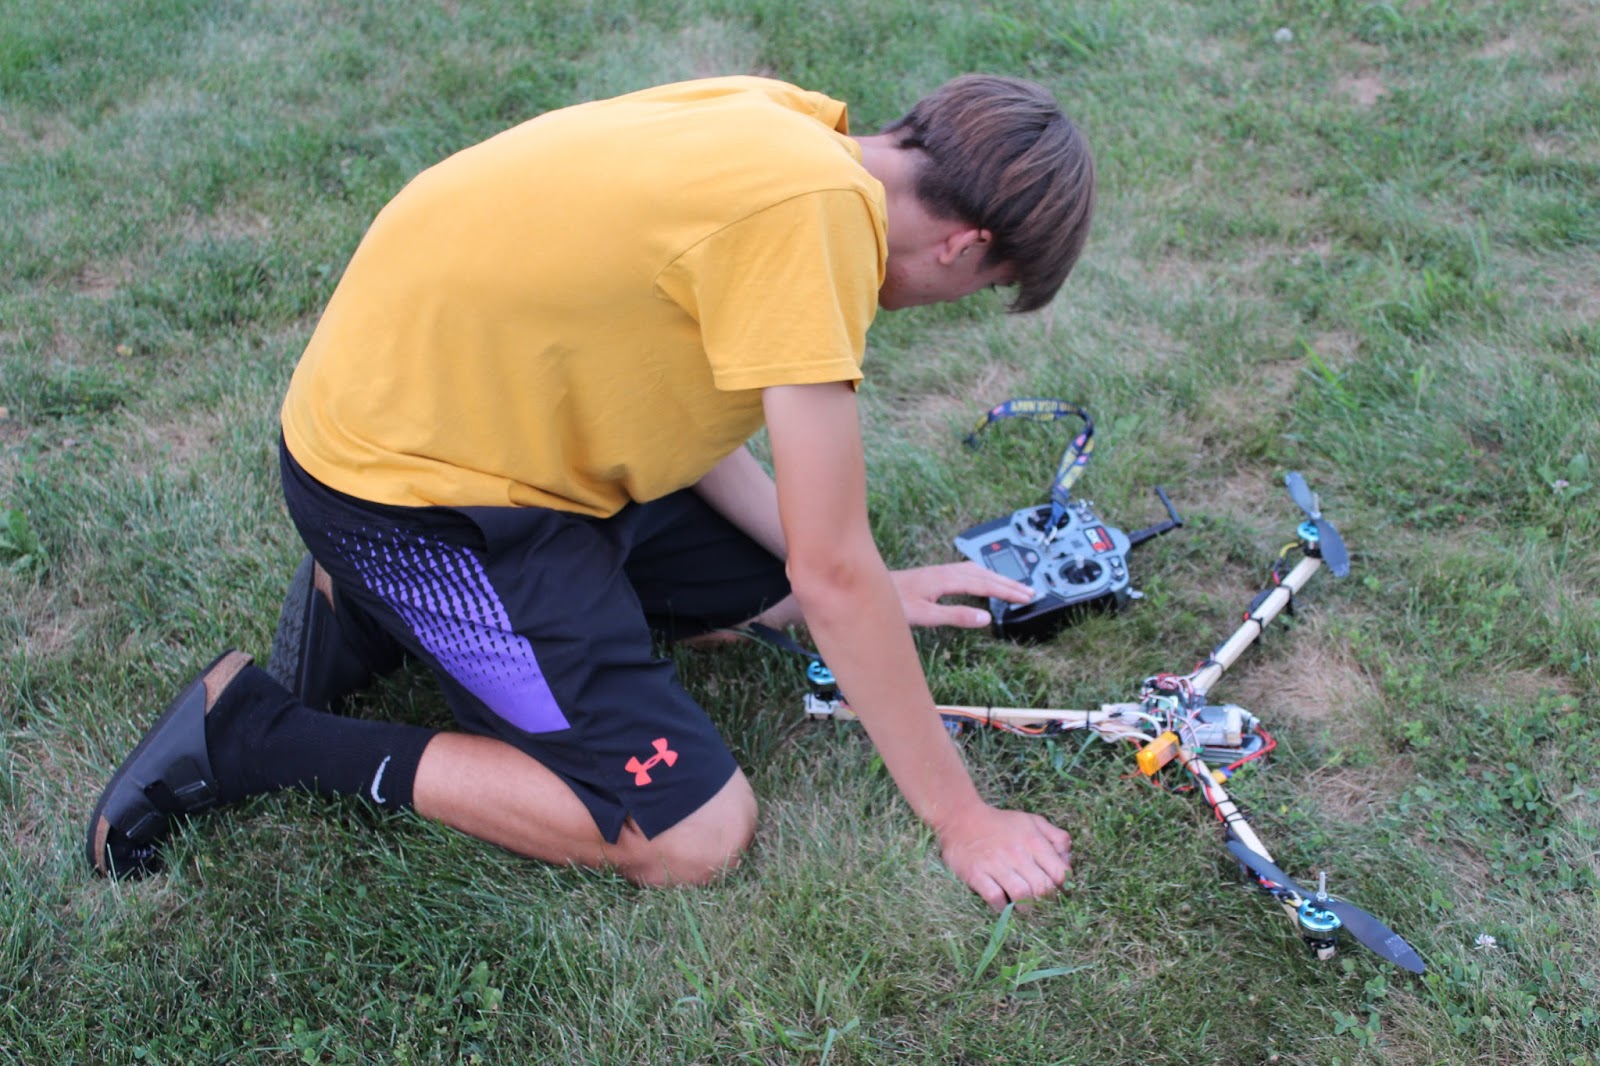
Tricopter Beginning Stages
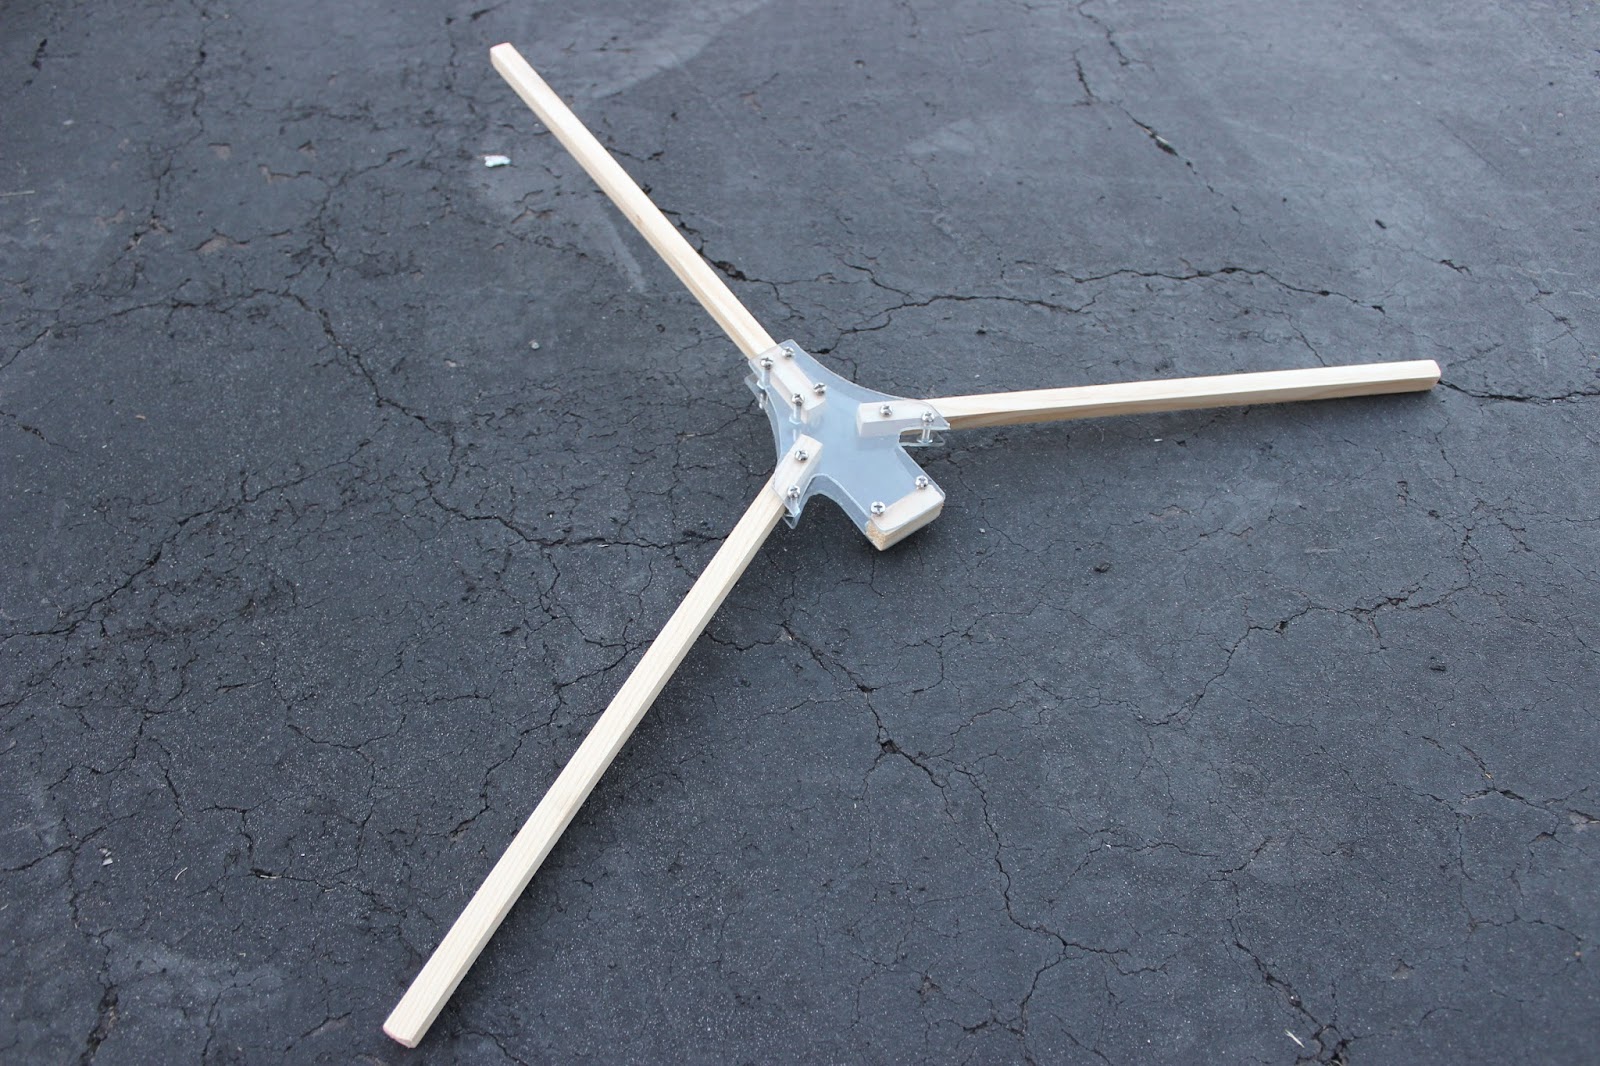 |
| Tricopter Frame: This is the beginning stage of the tricopter I am building. A tricopter has 2 motors in the front and one in the back that moves with a servo to control yaw. Its purpose will be to carry a GoPro and record things from the air at a very low cost. |
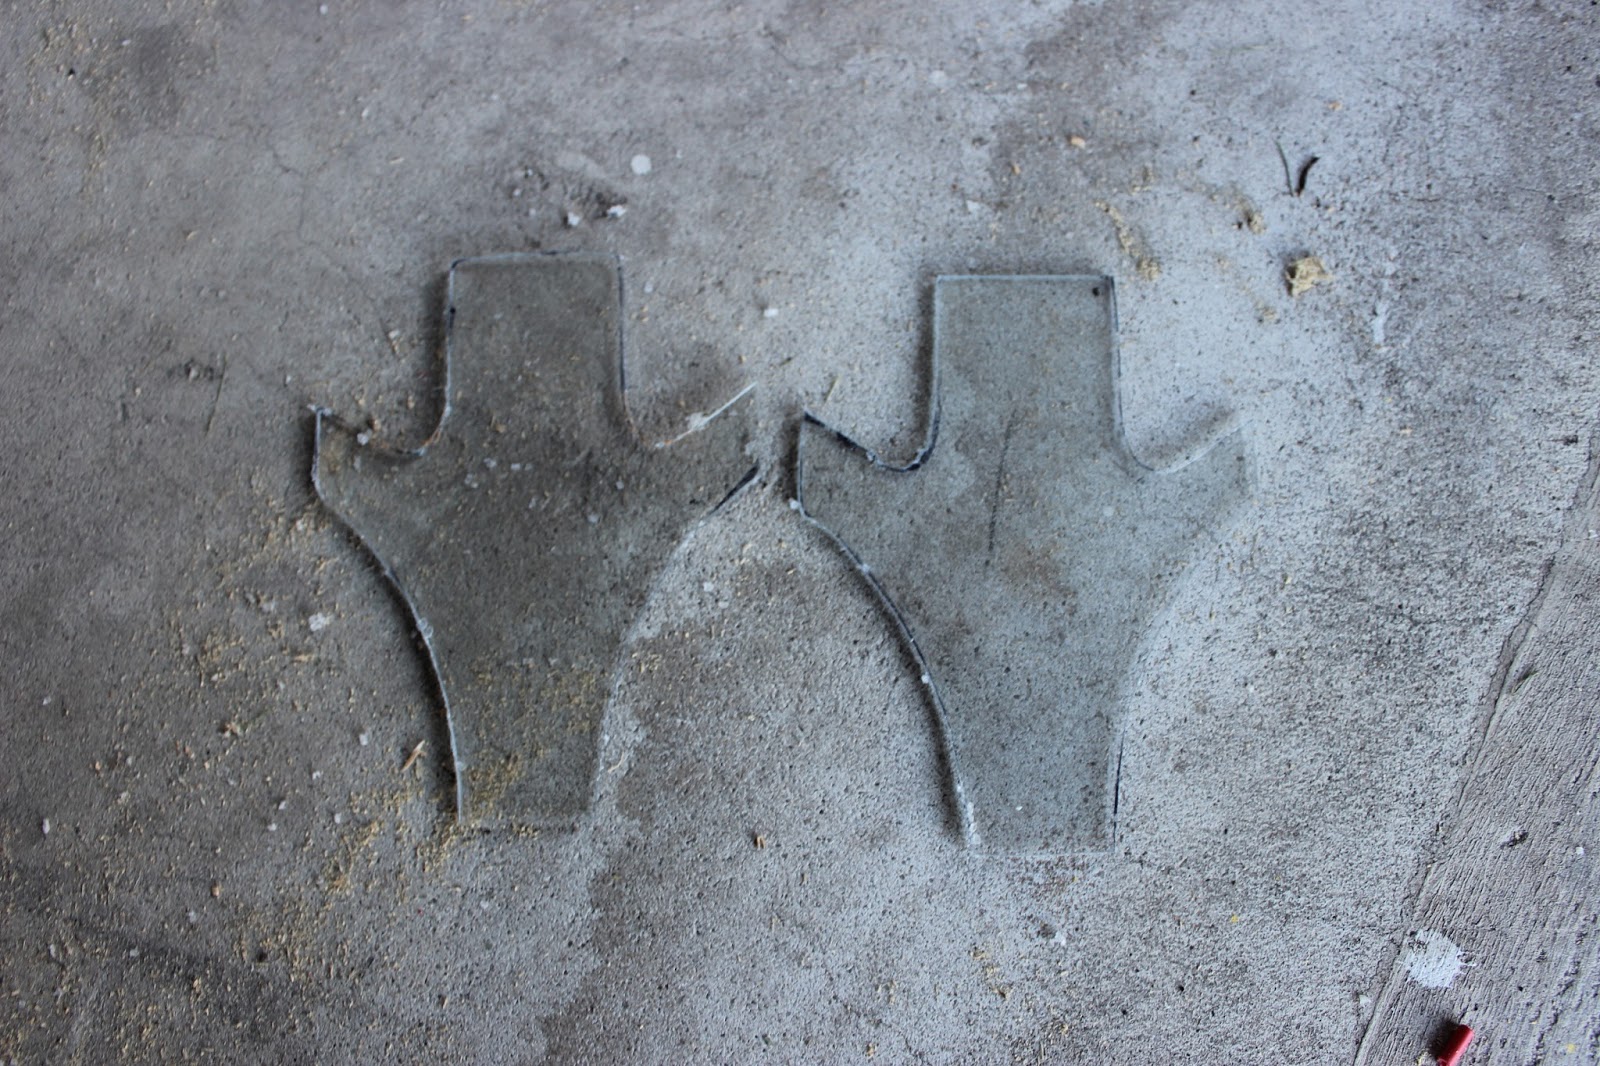 |
| This is the center/base part of the tricopter. It will hold the KK2 Board which will stabilize the craft. It will also hold the battery and receiver. Underneath it will be an isolated mount to hold a GoPro. This isolated mount will have vibration dampening to minimize vibration from the motors that can create a jello look in the recorded footage from the GoPro. |
 |
| Sanded and holes drilled out. It is made from polycarbonate. |
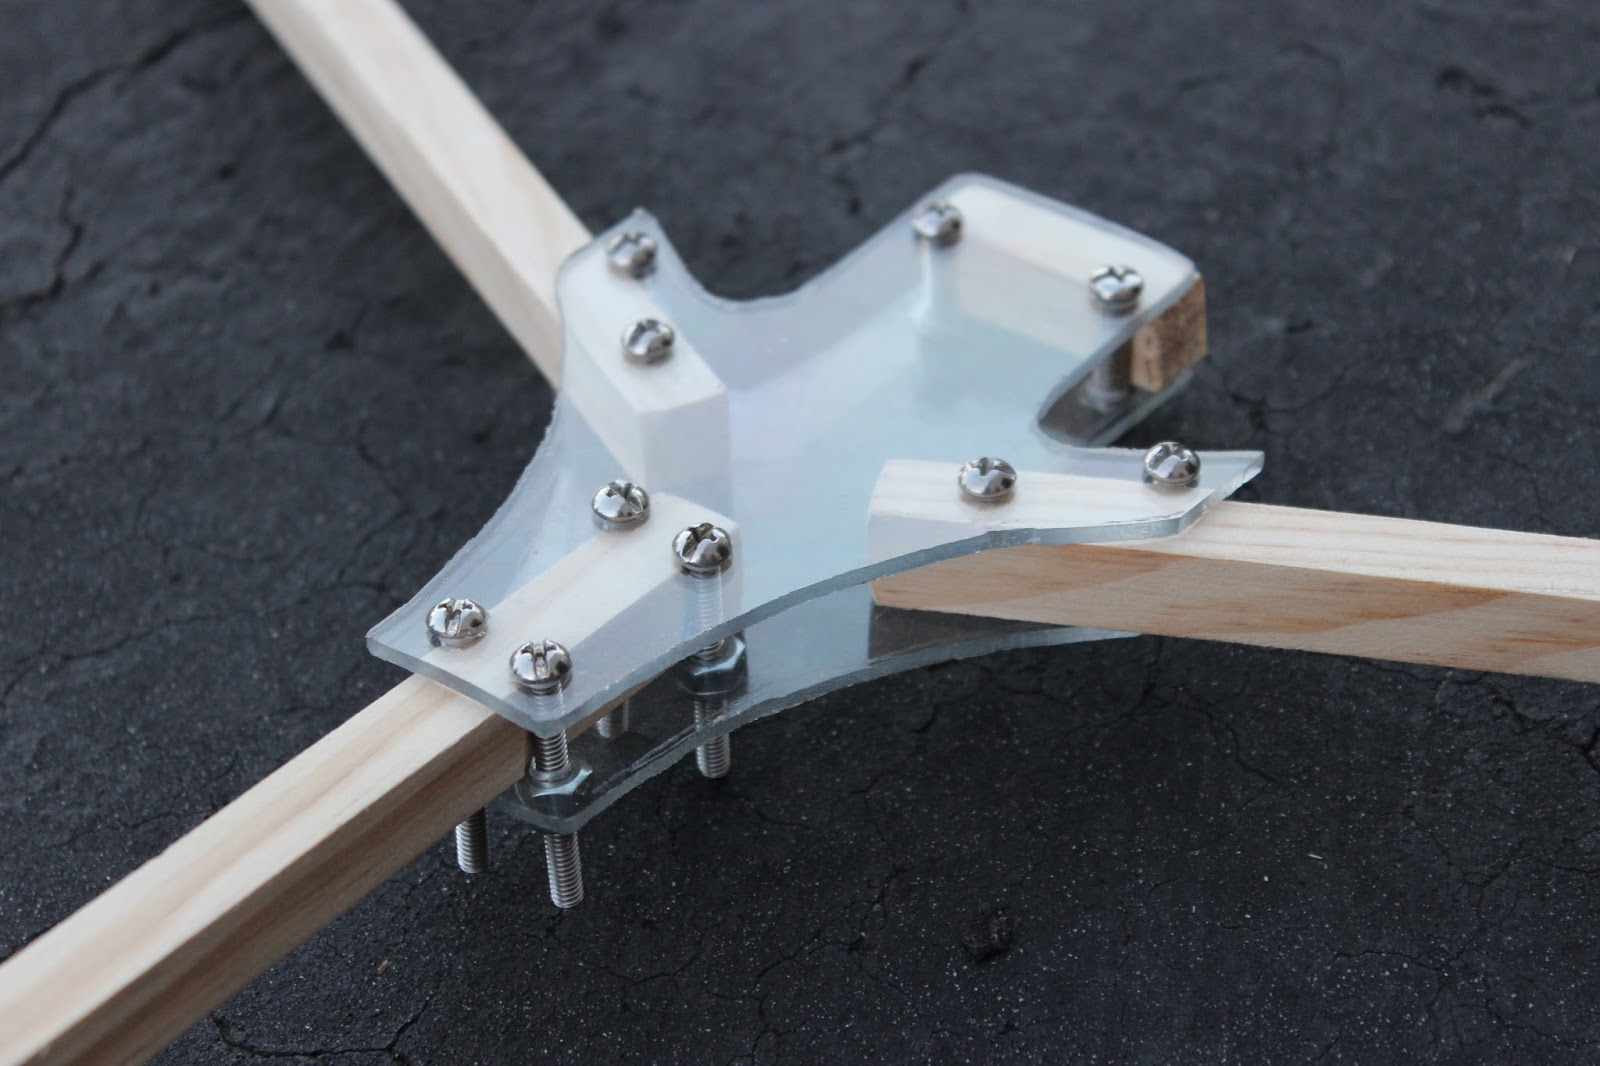 |
| This is an up-close picture showing the bolts and wood mounted to the base frame. Looks pretty good, eh? |
 |
An advantage with the tricopter vs. a quadcopter/hexacopter/
octacopter is that it can easily be folded up and transported, as
shown in this picture.
|
 |
| Here is the full parts description. I kept the parts very cheap because I am naturally very frugal. See you shortly with all electronics attached and a ready to fly tricopter! |
Subscribe to:
Posts (Atom)