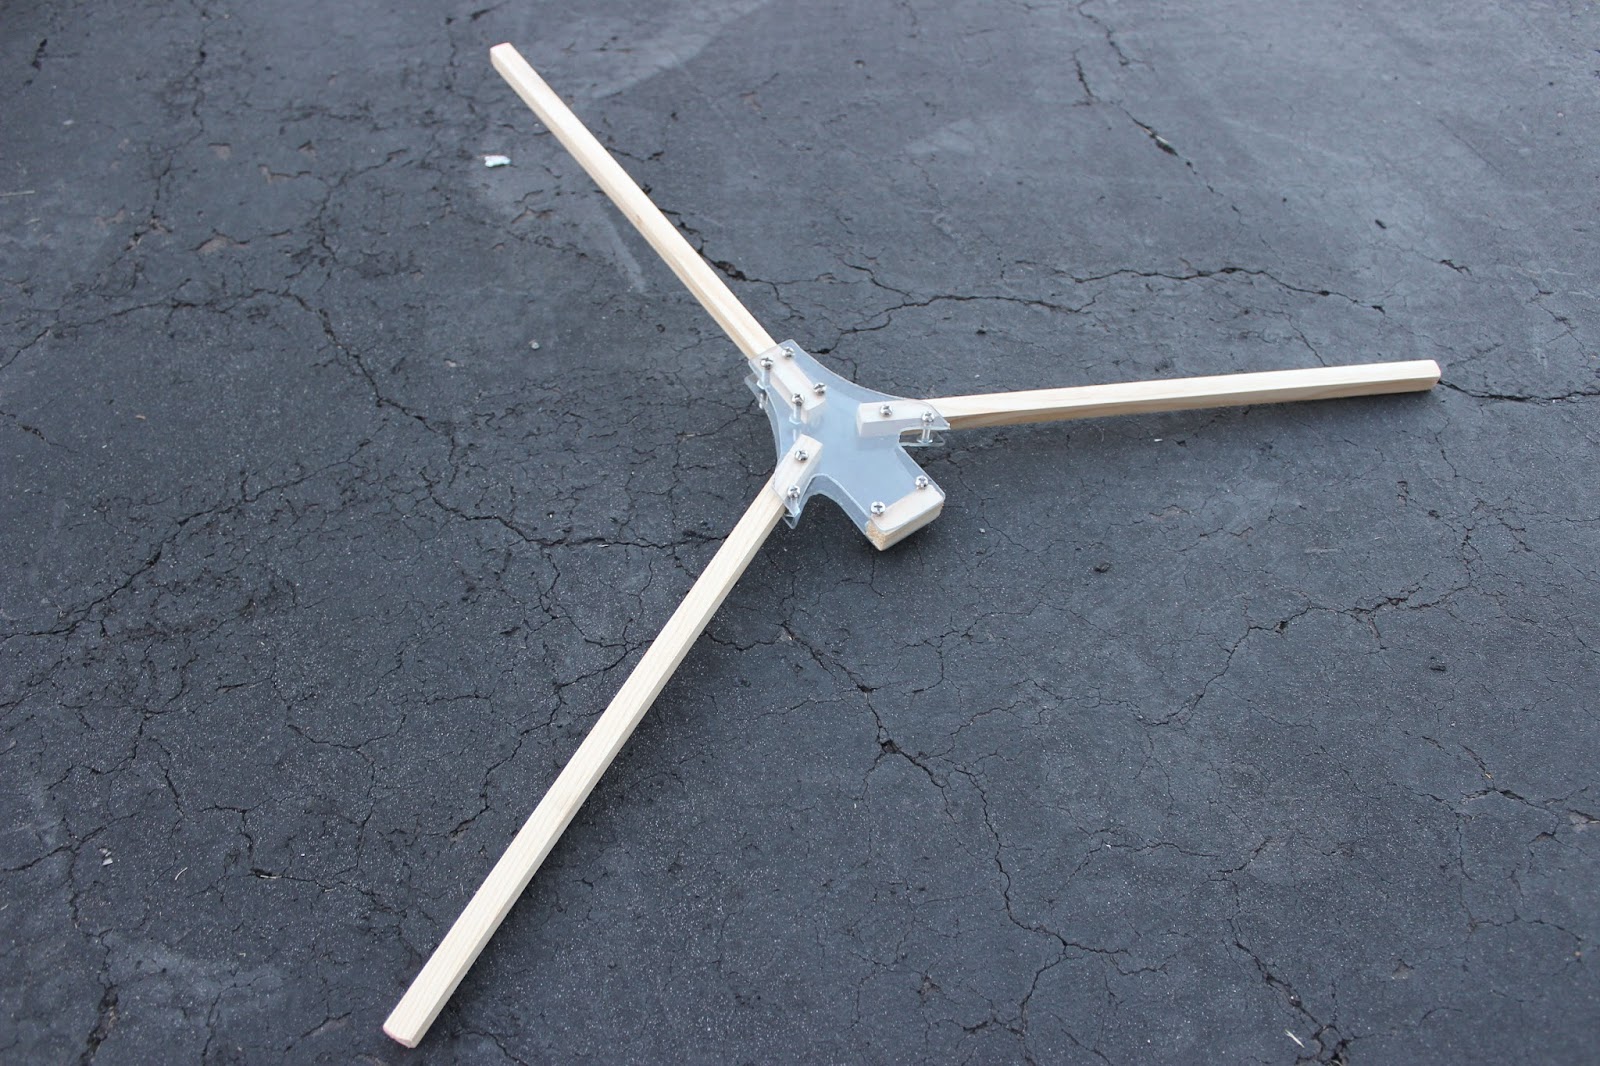
Tricopter Frame: This is the beginning stage of the tricopter I am building. A tricopter has 2 motors in the front and one in the back that moves with a servo to control yaw. Its purpose will be to carry a GoPro and record things from the air at a very low cost.
This is the center/base part of the tricopter. It will hold the KK2 Board which will stabilize the craft. It will also hold the battery and receiver. Underneath it will be an isolated mount to hold a GoPro. This isolated mount will have vibration dampening to minimize vibration from the motors that can create a jello look in the recorded footage from the GoPro.
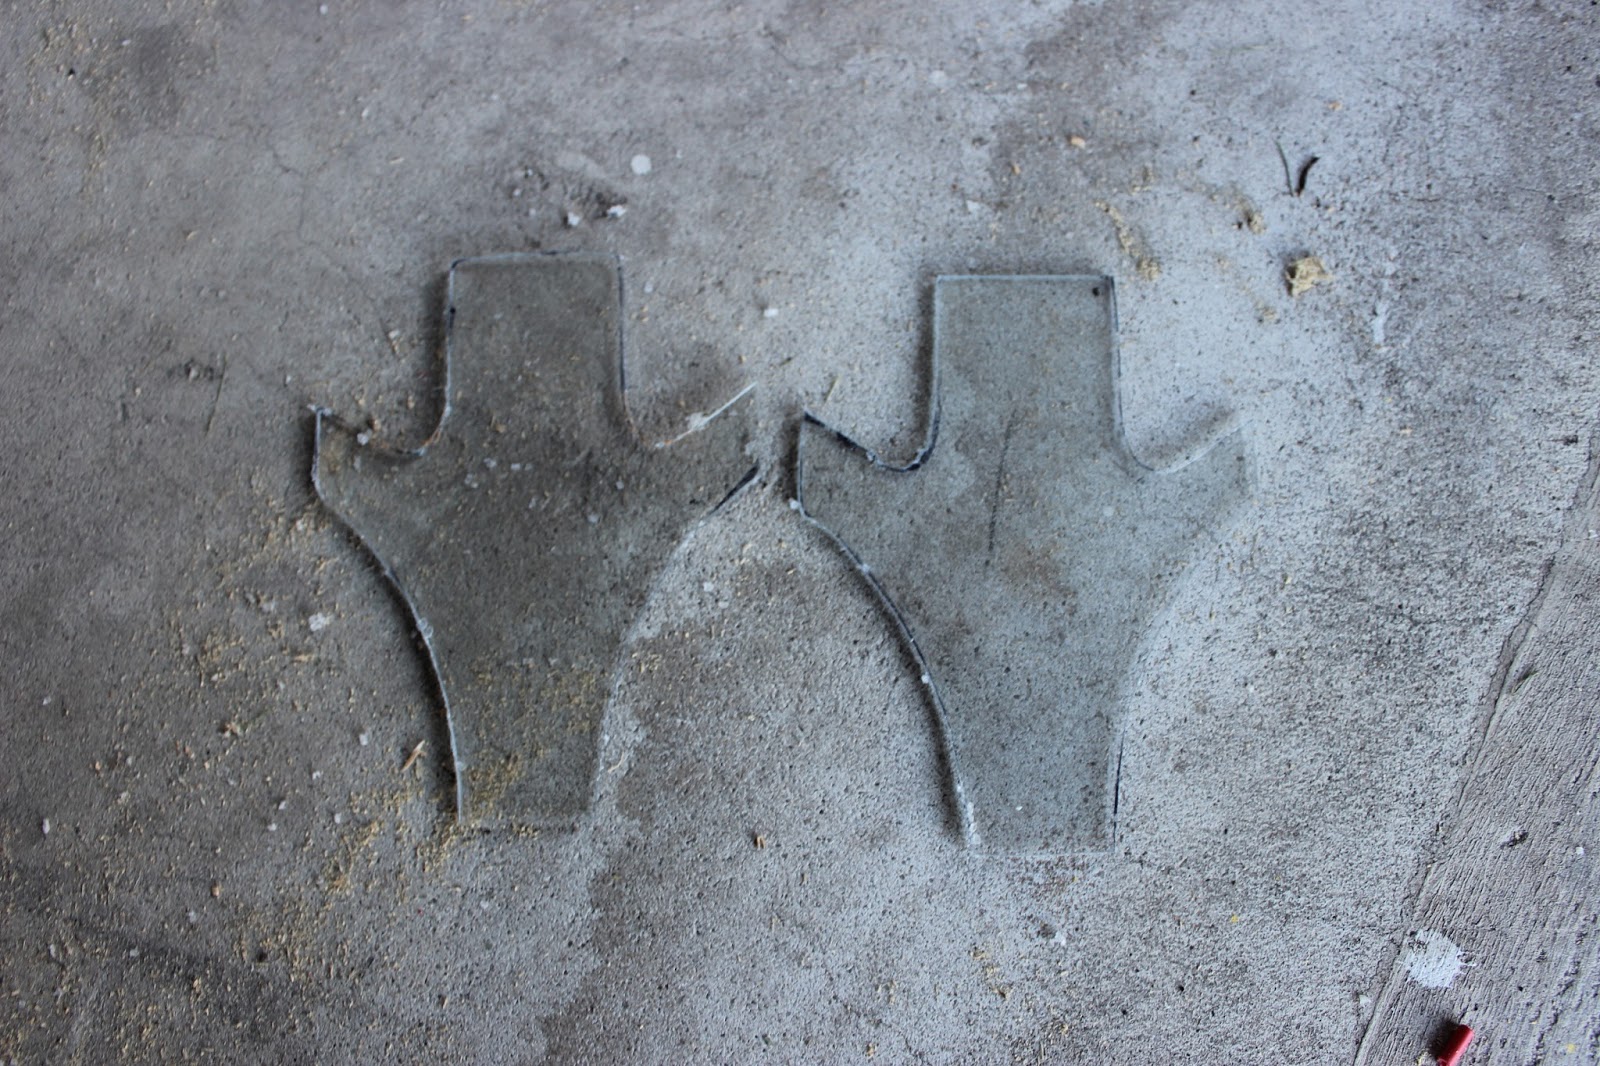
Sanded and holes drilled out. It is made from polycarbonate.
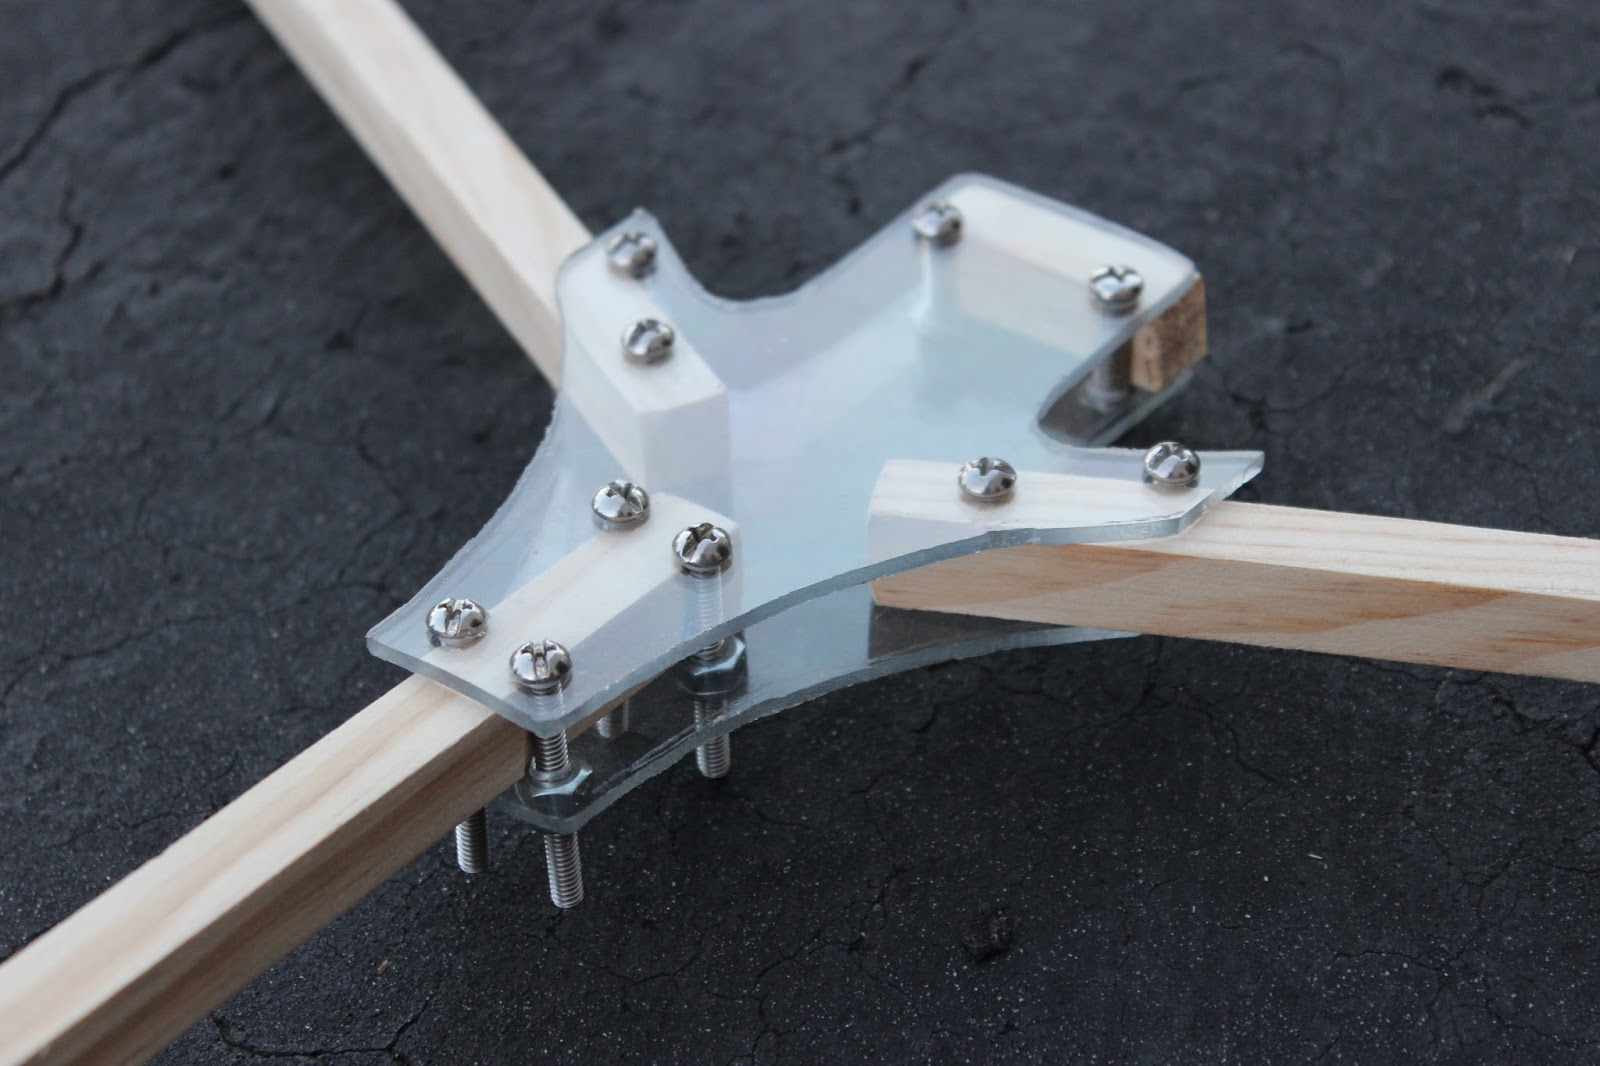
This is an up-close picture showing the bolts and wood mounted to the base frame. Looks pretty good, eh?
An advantage with the tricopter vs. a quadcopter/hexacopter/ octacopter is that it can easily be folded up and transported, as shown in this picture.
Here is the full parts description. I kept the parts very cheap because I am naturally very frugal. See you shortly with all electronics attached and a ready to fly tricopter!
This is the tricopter! All the hardware was bought from Home Depot and the Electronics from Hobbyking.com. The KK2 board I mentioned in the video controls the stability of the tricopter and tells it where level is. Let's say a gust of wind hits it unexpectedly from the side. The gyros in the KK2 board will know where level is and will speed up/slow down motors to make up for this outward force. Thanks for watching! P.S. Don't mistaken this for a drone. A drone flies itself, this is controlled by an external transmitter operated by a human.
Here is a video I made of the camp I used to work at:
For the last week of camp I decided to take aerial shots of the camp to provide a new perspective never seen before. It was all shot on a GoPro I mounted on the Tricopter. There is no gimbal, but post stabilization editing was done to improve the video. The kids loved seeing it fly and seemed to be very inspired by it! I also got featured in a blog post by one of the head staff at the camp which you can see here: http://snyderthomas.blogspot.com/2015/08/the-magic-of-rambling-pines.html
I brought my Tricopter to the pep rally at our school to bring cheer to new heights! The banner falls with a servo I hot glued to the rear boom, causing the banner to unravel and fall. All in all, the mechanism is super simple and easy considering the end result!


Hi Peter, I love this idea as have been looking for a cost effective drone and can't really afford $1,200!
ReplyDeleteAre you going to release more detail on how you did this? No worries if not :D.
Thanks,
Sean